1. Introduction
Custom policies let you allow or block requests by regexes, keywords, or semantic text by using the Block list or Allow list.
2. Using the Content Policy
Select Block list if you want to block specific content or select Allow list if you want to allow specific content. Then, click Add policy. Verax will always automatically block or allow (depending on your selection) policies that match those you add to the lists.
Note: You can only use one list at a time, either blocking content or allowing policies.
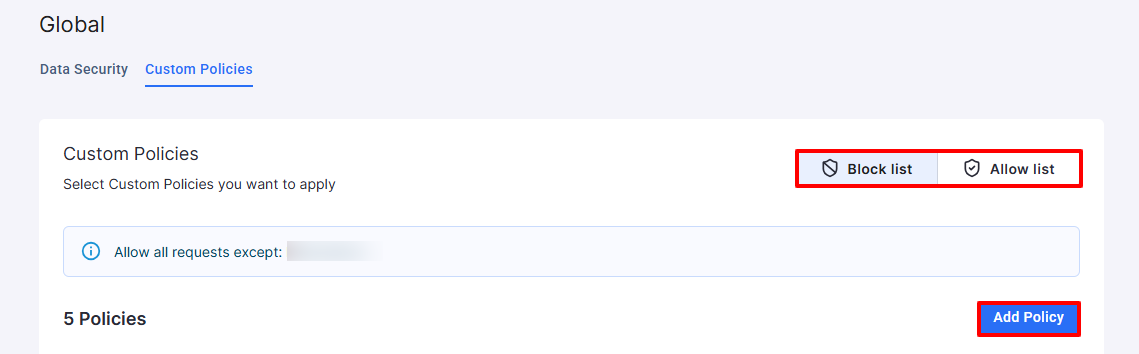
The Add Policy dialog shows. Add the following:
Name - Enter a clear policy name.
Risk - Choose the risk level that’s associated with the policy. Verax will always assign the highest matching risk level.
Select a method - Toggle the bar to the right of the method name and enter relevant parameters into the blank space. The method defines the criteria by which the policy is allowed or blocked. If you select more than one method, Verax will identify topics that match both (ex: Regexes AND Keywords).
Regexes - Enter regexes separated by a comma. If more than one regex is entered, Verax will identify topics that match one OR the other regex (ex. [0-9] OR [A-Za-z])
Keywords - Enter keywords separated by a comma. If more than one keyword is entered, Verax will identify topics that match one OR the other keyword (ex. Last name OR First name)
Semantic text - Enter detailed text. The more detailed the description, the better the Allow or Block list will work.
Click Add another to add another policy or Save to save the policy.
You can see all your added policies on the Custom Policy page. Enable or disable a policy by clicking the Enable toggle.
Click the three dots to the right of the policy to edit or delete the policy.
Verax Protect comes with several default built-in policies for your convenience that can’t be deleted, but are disabled by default.